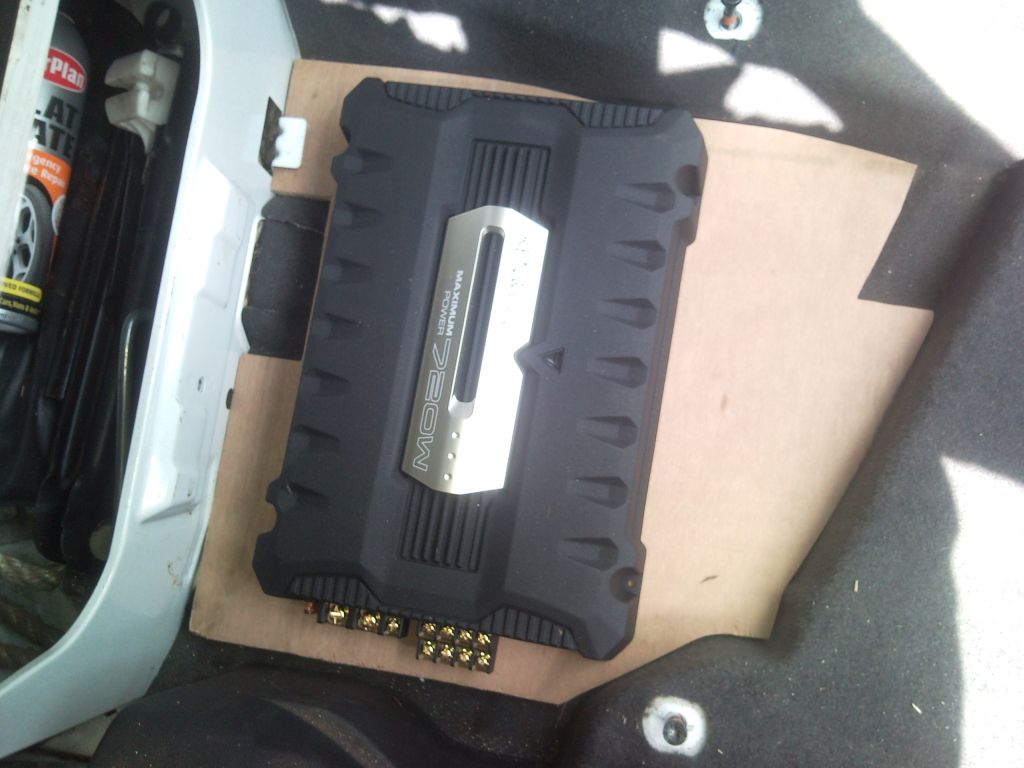
so, next i fitted the amp, completely ignoring kenwood who said to fit the speakers first, because this is the bit i was looking forward to, you can fit speakers any day, but this is my first amp install

.
so first off i removed the seat and gave the whole job a good clean and hover.
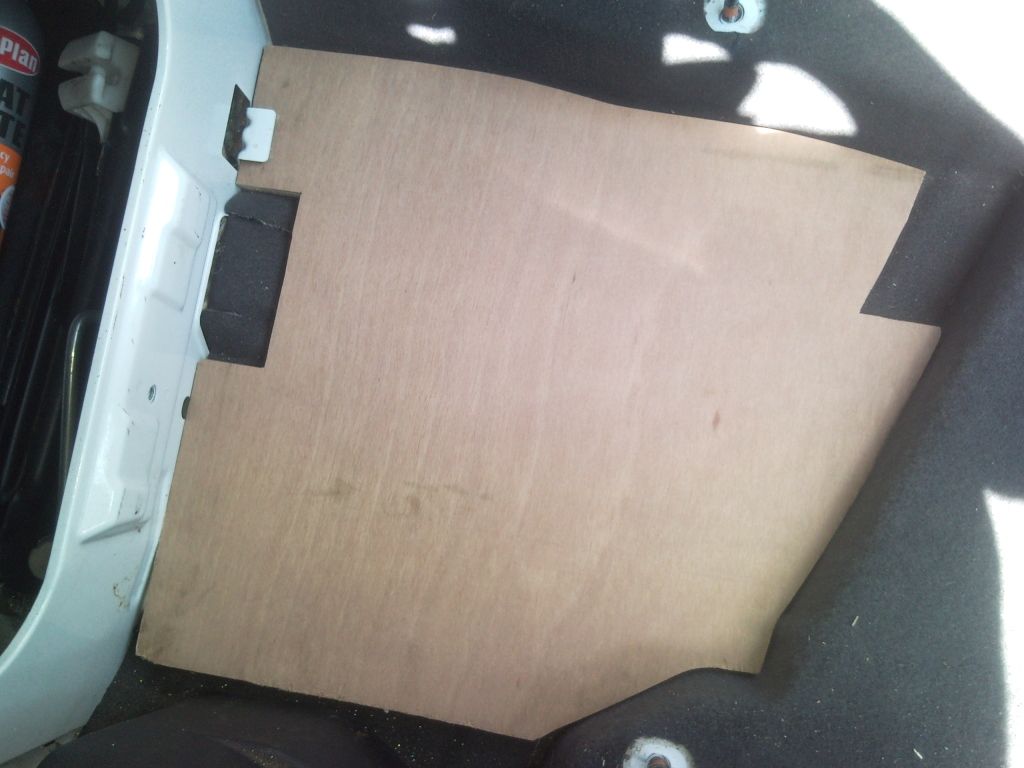
then i made a stencil out of cardboard in the shape of the floor. i used a jigsaw to cut the wood, 15mm ply, for the amp to sit on'
next was to run the ignition live and the live, i removed the sill trim, part of the b pillar trim and the a pillar trim under the dash on both sides of the van, but realised afterwards i only needed to remove the passenger side trims.
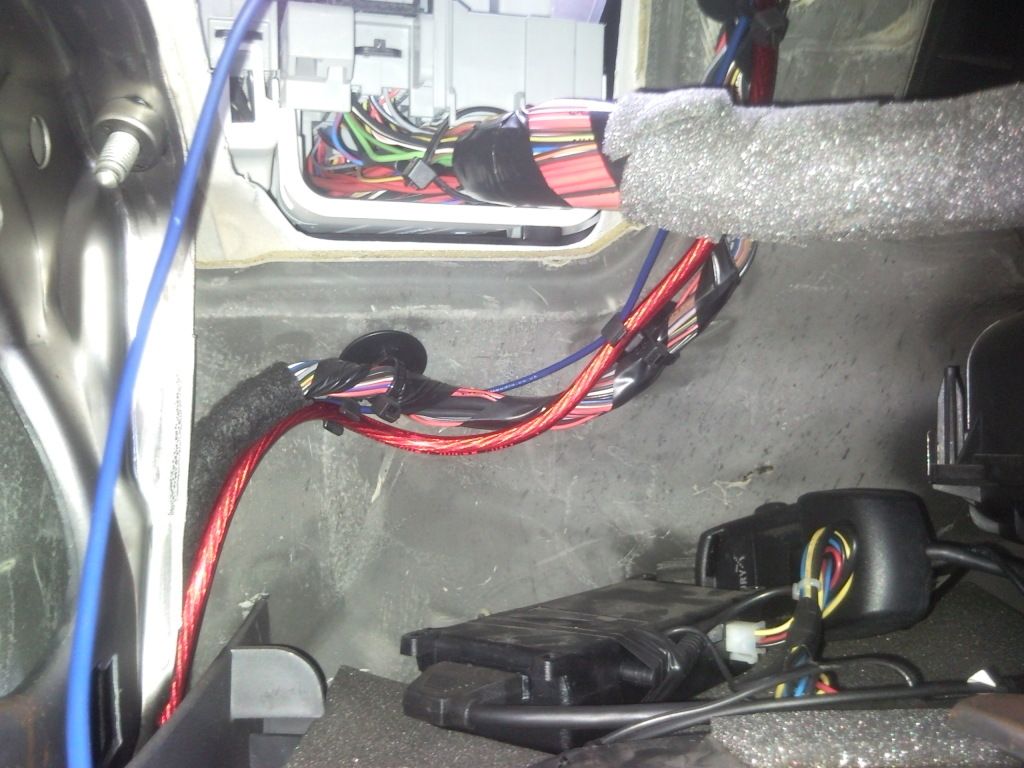
first i ran the main live (big red wire), i passed it through the cubby boxs behind the seats.
then into the flexible wire channel behind the b pillar trim,

after this i ran it along the sill (again through the wire channel) and up under the dash and into the wire box behind the glove box.
its a right pain to remove the lid of this i found out

youve got to remove the trim from under the windscreen and then slide the battery over and undo the lid.
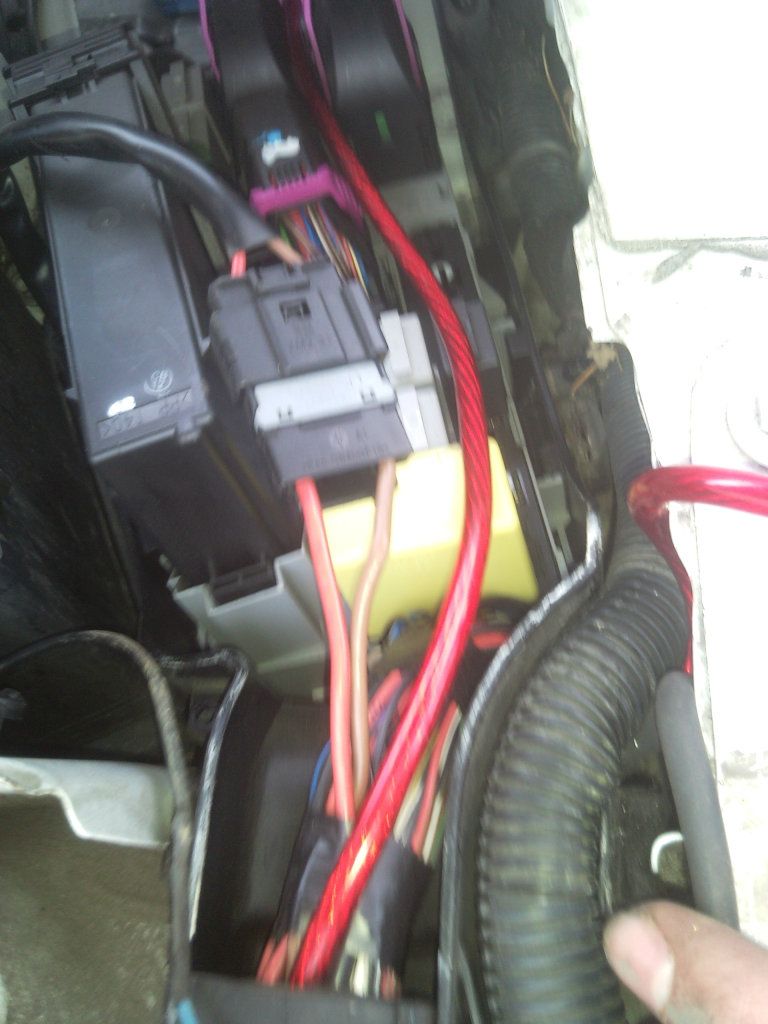
then i ran the wire into the fuse box and back out through the gland underneath,
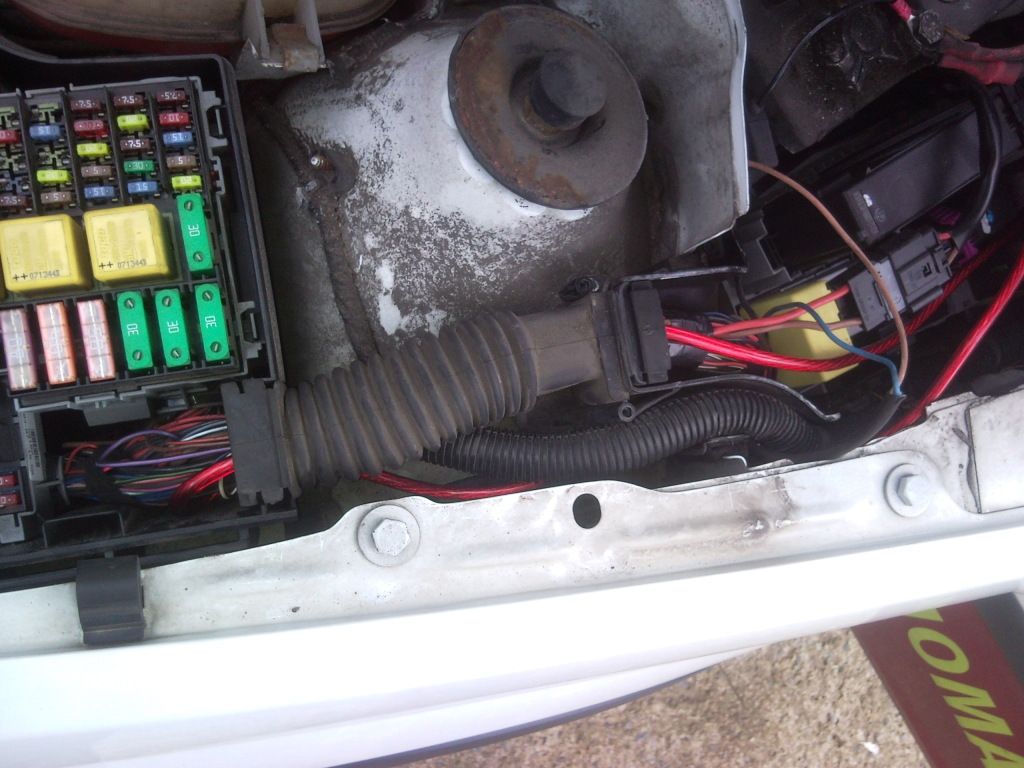
i then mounted the fuse holder, i mounted it on top the wire box lid, using a small amount of sealant to stop water getting in. heres a pic of it back together.
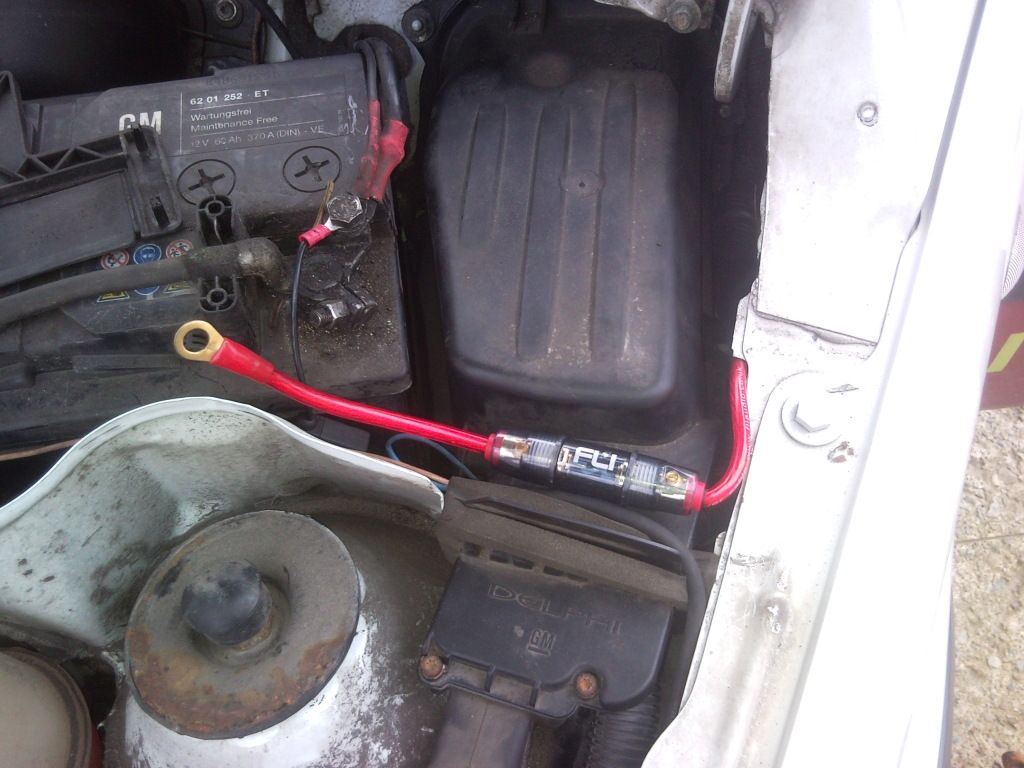
ive left the fuse out of it for now until i get the speakers in. i also plan to get some sheathing to protect the wire from the metal edge.
i ran the ignition live the same way and put it to an ignition live in the fuse box as i couldnt find one at the back of the radio, again this is currently disconnected until the speakers are in..
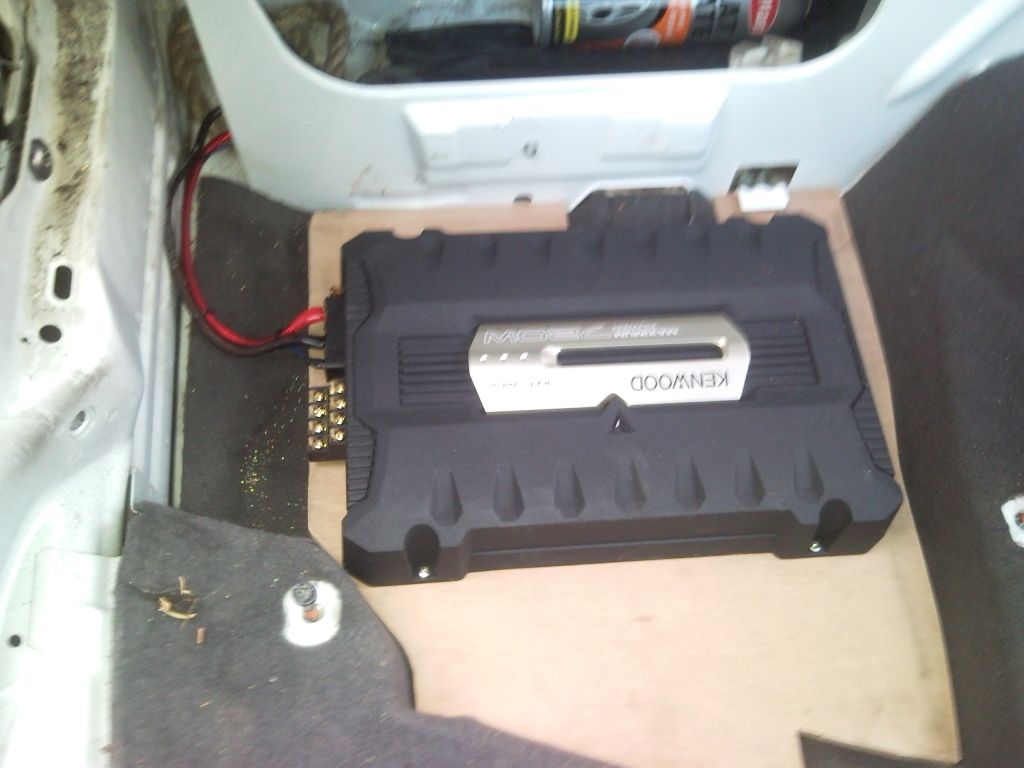
for the earth i used the threaded hole in the cubby box which i think is normally used for holding the jack. you can just see the end of the bolt in this picture just behind the amp.
with the trim on.
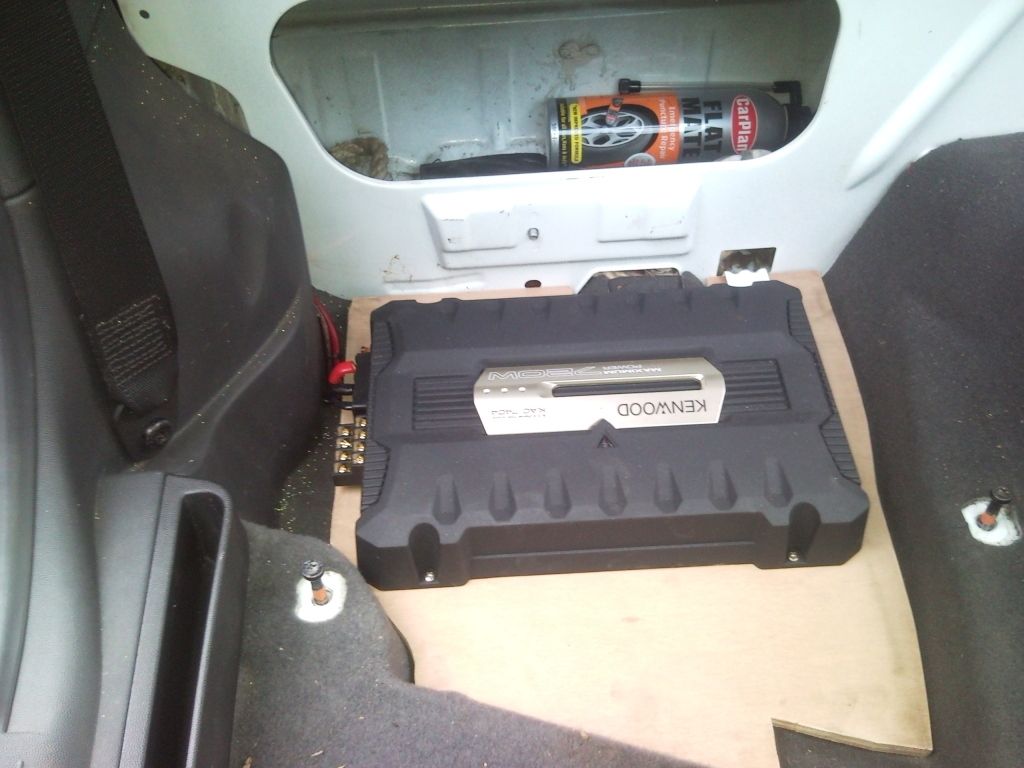
and the seat in.
i plan to stain the wood black at some point. gonna be a while until my next update as dads got the van for the next 3 days so i might just put a pic of the sub up so you get the idea
thoughts, ideas and opinions welcome.
cheers, Brian

 Recent Posts